Auckland · 2026 Edition
Auckland Kitchen Renovation Guide 2026: Costs, Process & What Actually Works

Auckland kitchen renovations in 2026 typically cost $30,000 – $200,000+ and take 8–16 weeks from kick-off to handover. The range depends on whether you’re doing a like-for-like refresh, a full strip-out with a new layout, or a structural reconfiguration that pulls walls and extends the home.
This guide walks through the entire process — planning, design, consents, construction, and handover — with the real costs, timelines, and trade-offs we’ve learned across 500+ Auckland kitchen renovations. Whether you’re upgrading a 1920s villa kitchen, modernising an 80s bungalow, or planning a full open-plan reconfiguration, the principles are the same.
Auckland kitchen renovation costs in 2026
| Kitchen type | Typical 2026 cost | On-site time | Typical scope |
|---|---|---|---|
| Refresh | $30K – $50K | 3 – 6 weeks | New cabinetry doors, benchtop, splashback, appliances. Layout stays the same. |
| Mid-range renovation | $50K – $90K | 6 – 10 weeks | New cabinetry, stone benchtops, quality appliances, minor layout changes. |
| High-end designer kitchen | $90K – $200K+ | 10 – 16 weeks | Custom cabinetry, scullery, premium appliances, integrated joinery, designer-led. |
| Add structural reconfiguration | +$20K – $80K | +2 – 6 weeks | Wall removal, opening to dining, kitchen as part of a wider renovation. |

Auckland kitchen renovation cost per square metre (2026)
Auckland kitchen renovations run $2,500 – $4,000 per square metre in 2026. Most Auckland kitchens are 10–15m², which puts a typical mid-range project between $30,000 and $60,000 before any structural changes. Auckland sits 10–20% above the NZ national average, driven by higher labour rates ($120–$150/hr for most trades), Auckland Council compliance costs, and tighter trade availability than the rest of the country.
Per-square-metre rate by tier
| Tier | Per m² (Auckland 2026) | What’s included |
|---|---|---|
| Basic refresh | $1,500 – $2,500 | Pre-made cabinetry, laminate benchtop, layout unchanged |
| Mid-range | $2,500 – $3,500 | Custom cabinetry, engineered stone, quality appliances, minor layout tweaks |
| Luxury custom | $3,500 – $4,500+ | Bespoke cabinetry, premium stone or porcelain slab, integrated appliances, scullery |
Where the money actually goes
For a typical mid-range Auckland kitchen:
| Cost category | Share of budget |
|---|---|
| Cabinetry & joinery | 35 – 45% |
| Benchtops | 10 – 20% |
| Appliances | 10 – 25% |
| Trades (plumbing, electrical, gas, tiling) | 15 – 25% |
| Design, project management, consent | 8 – 15% |
Cabinetry is the biggest single line item — which is why cheap drawer runners and hinges in a $40K kitchen is a false economy. The cabinetry quality determines whether the kitchen lasts 5 years or 25. Spend the extra $1,500–$2,000 on Blum or Hettich hardware and the kitchen will outlast the next renovation cycle.
Why renovate your Auckland kitchen?
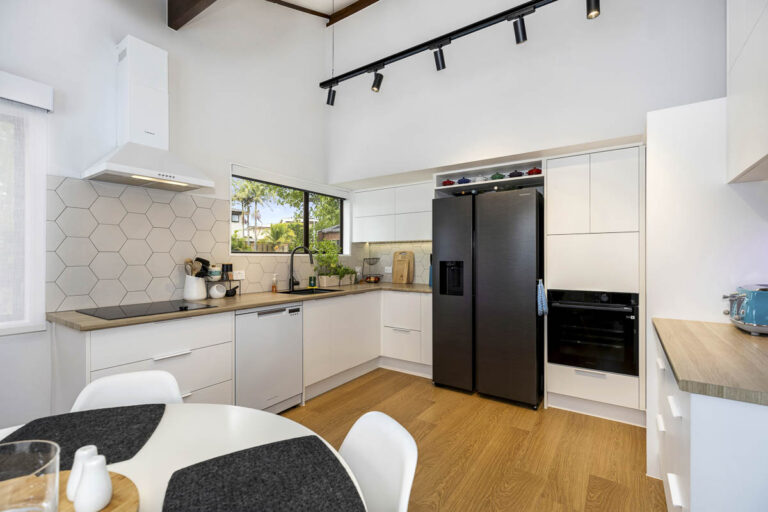
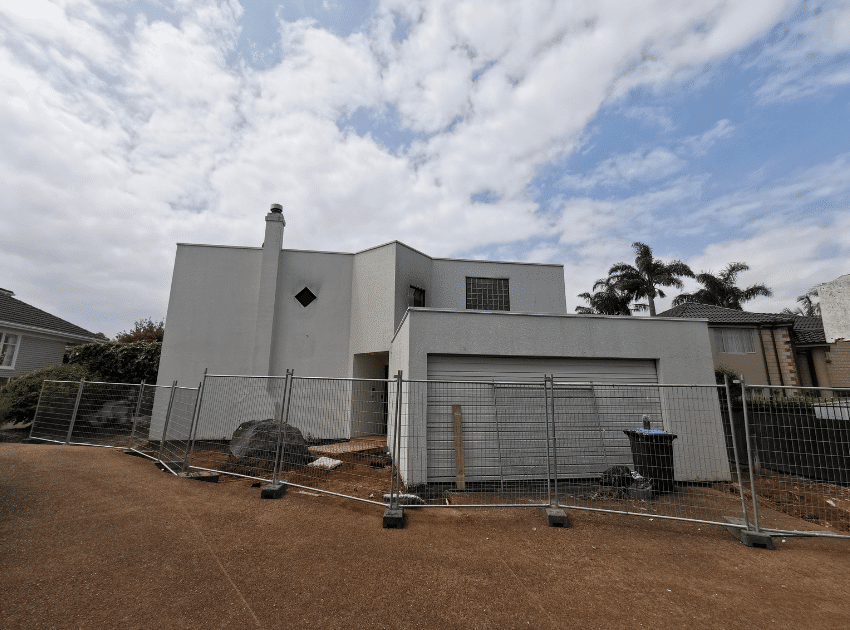
The reasons are as varied as Auckland’s housing stock — a 1920s villa kitchen that’s charming but impractical, an 80s suburban kitchen with worn cabinetry, or a growing family that’s outgrown the space. The motivations cluster into five themes:
- Layout doesn’t work for how the family actually cooks and gathers
- Storage is wrong — pantry too small, pots in the wrong cupboard
- The kitchen is cut off from where life happens
- Visibly tired cabinetry, benchtop, or appliances
- Resale uplift — kitchens recover 70–100% of cost in property value, one of the highest-ROI renovations
The mistake most homeowners make at the start
Walking into a showroom before defining the brief. You’ll end up choosing materials that don’t fit the layout you haven’t designed for the lifestyle you haven’t documented. Brief first, samples second.
Phase 1: Planning & Preparation
Where most kitchen renovations succeed or fail. Skipping this phase to “get started” is the #1 reason budgets blow out and timelines slip.
1Define your vision, needs, and budget
Before you look at a single Caesarstone sample, get clear on three things: what doesn’t work now, what must work after, and what you can realistically spend.
What doesn’t work — the pain-point audit
- Not enough bench space when two people are cooking
- Storage that doesn’t fit how you actually use the kitchen
- Lighting that’s flat or harsh
- Layout that bottlenecks at the fridge or dishwasher
- Cabinetry, benchtop, or appliances visibly past their life
- Kitchen cut off from where the family actually spends time
What must work — the brief
Separate must-haves (non-negotiable) from nice-to-haves (cut first if budget tightens). A typical AVR brief has 5–7 must-haves and 10–15 nice-to-haves.
What you can spend — the budget
Use the cost table above as a starting point, then add a 15% contingency. Older Auckland homes regularly produce surprises behind the walls — rotten framing, old wiring, asbestos in 1960s–80s vinyl flooring. Pretending the contingency doesn’t exist is the #1 reason budgets blow out.
2Choose your renovation partner
The single biggest decision you’ll make on the project. The wrong builder will cost you more than any benchtop choice.
The 6 credentials to check
- Licensed Building Practitioner (LBP) — required for restricted building work
- Registered Master Builder — gets you the 10-year transferable guarantee
- Public liability insurance — minimum $2M cover
- Contract works insurance — protects the build itself
- Real portfolio — completed Auckland kitchens, ideally in homes like yours
- Verifiable references — Google reviews + ability to visit a recent project in person
The 3 red flags
- Lowest quote with vague scope (“kitchen renovation $35K”) — they’ll ambush you with variations once they’re on site
- No fixed-price contract offered — charge-up only is a risk transfer to you
- Reluctance to introduce you to past clients — biggest tell of all
3Initial consultation and brief development
A good consultation is a structured conversation, not a sales pitch. Expect the renovator to ask more questions than they answer in the first hour.
At the end you should have: a documented brief, realistic indicative budget range, indicative timeline, and a clear next step. If you don’t have those four things written down, the consultation hasn’t done its job.
Phase 2: Design & Detailing
With the brief locked, design turns vision into drawings, specifications, and consent paperwork. Where the kitchen gets specified down to the last cabinet handle.
4Kitchen layout and space planning
The layout is the backbone. Four configurations cover 95% of Auckland kitchens:
| Layout | Best for | Watch out for |
|---|---|---|
| L-shape | Open-plan living spaces, family kitchens | Long runs of bench can feel disconnected — break up with a tall pantry |
| U-shape | Heavy cooks, lots of storage needed, smaller footprints | Can feel enclosed — pair with island or open one wall |
| Galley | Narrow Auckland villas, efficient single-cook kitchens | Bottleneck if two people cook together |
| Island / peninsula | Open-plan, entertaining-focused homes | Needs minimum 1.2m clearance around it — eats floor space |
The classic kitchen work triangle (sink–fridge–cooktop) still matters for ergonomics, even in open-plan kitchens. The biggest layout mistake we see is opening up a kitchen for the look without checking the cook flow.

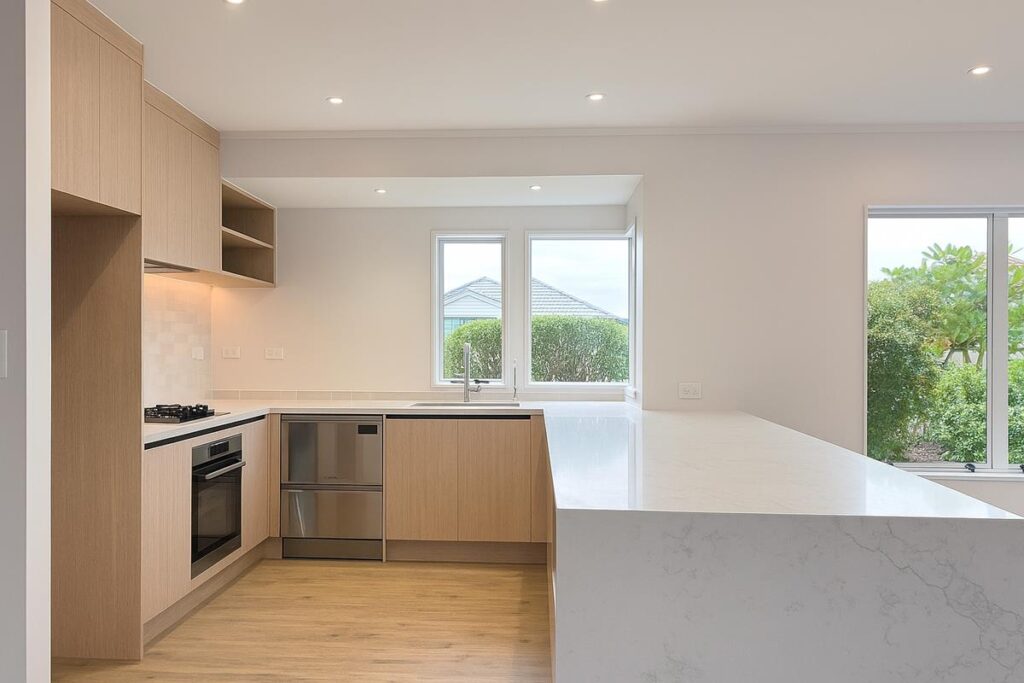
5Selecting materials, finishes, and appliances
The most enjoyable phase — and the one with the most decision fatigue. Get the core decisions right first, then play with the accents.
| Element | Budget option | Mid-range | High-end |
|---|---|---|---|
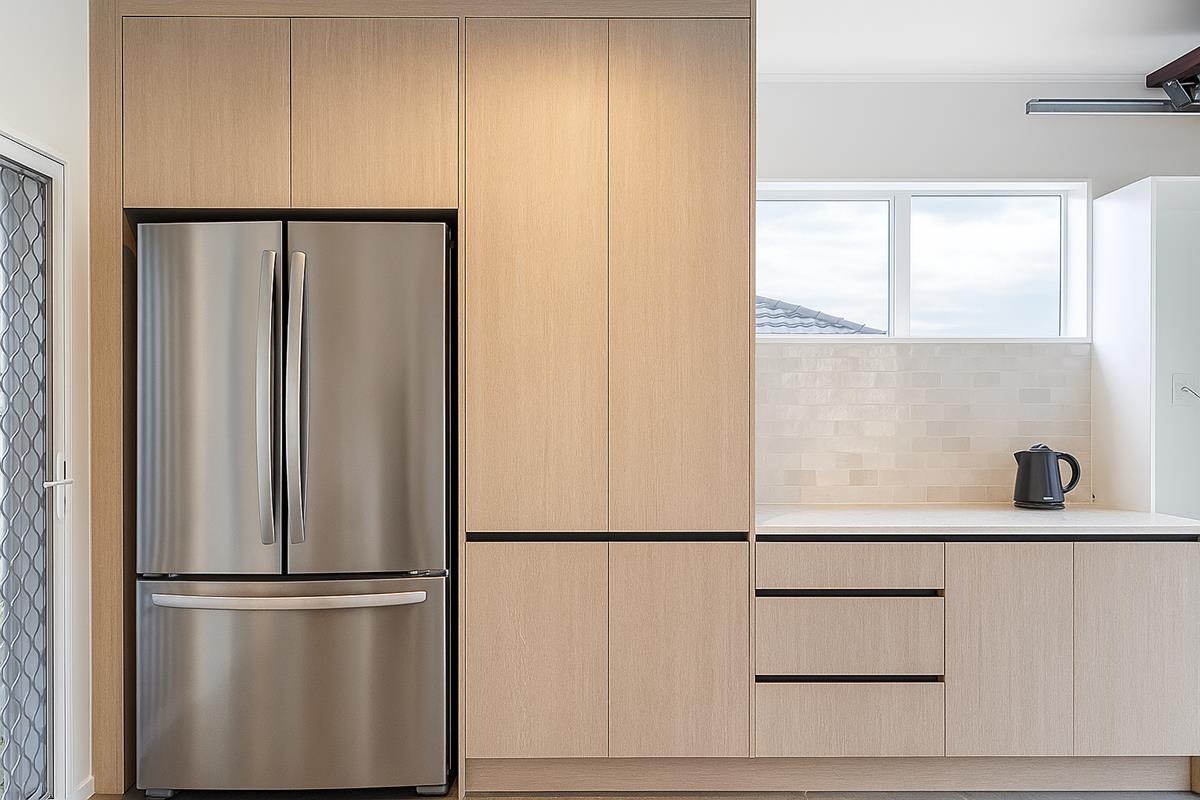
| Cabinetry | Melamine on MDF | Melamine + veneer doors | Custom solid timber or 2-pac lacquer |
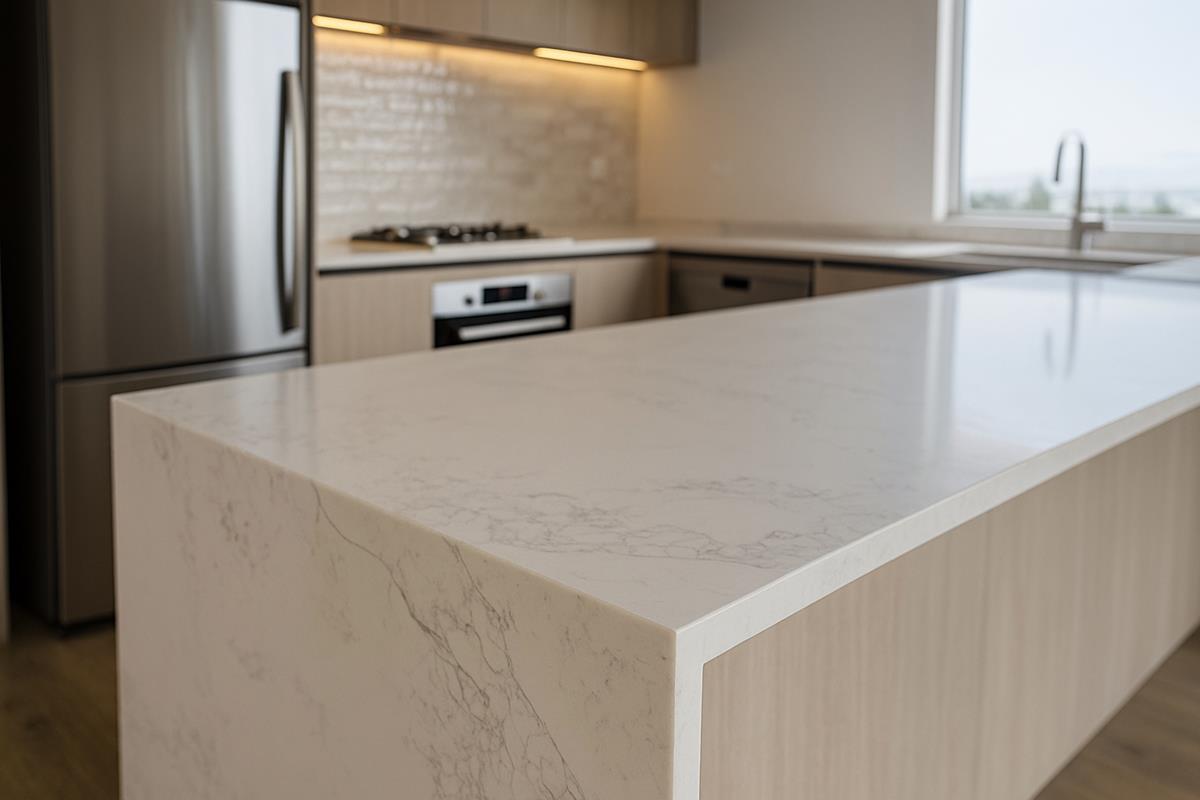
| Benchtop | Laminate | Engineered stone (Caesarstone, Silestone) | Dekton, natural stone, or porcelain slab |
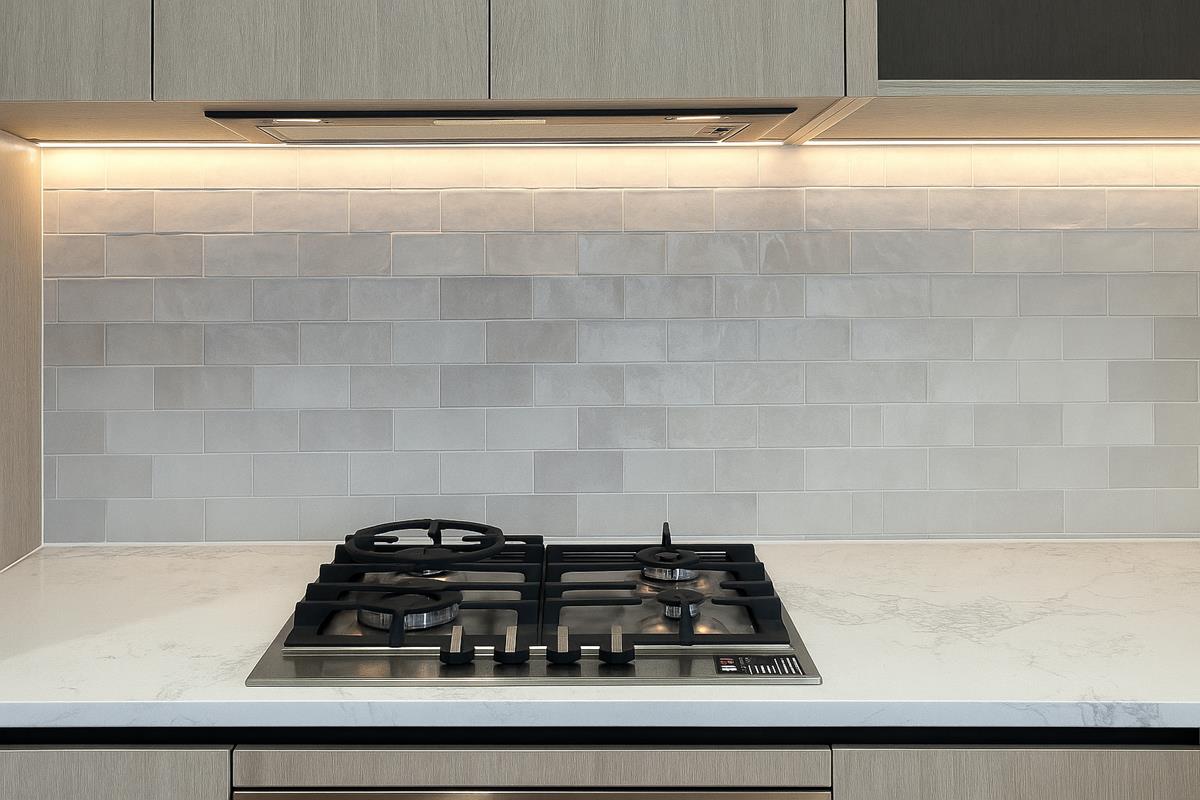
| Splashback | Painted glass or subway tile | Large-format porcelain or ceramic | Stone slab, mosaic, or matched benchtop |
| Flooring | Vinyl plank | Engineered timber or porcelain tile | Solid timber or large-format porcelain |
| Hardware | Standard hinges/runners | Blum or Hettich soft-close | Blum Legrabox, custom handles |
Auckland-specific material notes
- Engineered stone over natural marble — marble stains and etches in a working Auckland kitchen
- Porcelain or engineered timber over solid hardwood — Auckland humidity moves timber more than people expect
- Quality extraction — humid climate plus cooking means a properly sized rangehood (10L/sec per square metre as a rule of thumb) is non-negotiable
- LED under-cabinet lighting — cheap to add during the build, expensive to retrofit
6Finalising designs and consents
Detailed plans, 3D renderings if needed, and any consent applications submitted before tools come out. Most kitchen-only renovations don’t need building consent — but four common scenarios trigger one:
| Scenario | Consent required? |
|---|---|
| Like-for-like swap of cabinetry and benchtop | No |
| Moving plumbing waste or supply lines | Yes |
| Removing a load-bearing wall | Yes (with engineer) |
| Adding new electrical circuits or a gas cooktop where none existed | Yes |
Auckland Council processes typical kitchen consents in 10–20 working days. A good design-and-build company manages the whole process on your behalf — including engineer’s reports, producer statements, and final CCC.
Phase 3: Construction & Installation
The disruptive bit. Plan to set up a temporary kitchen in the laundry, garage, or spare room — microwave, hot plate, fridge, and kettle covers most needs for 4–6 weeks. Eat-out budget tends to creep, so plan $500–$1,500 in additional food costs.
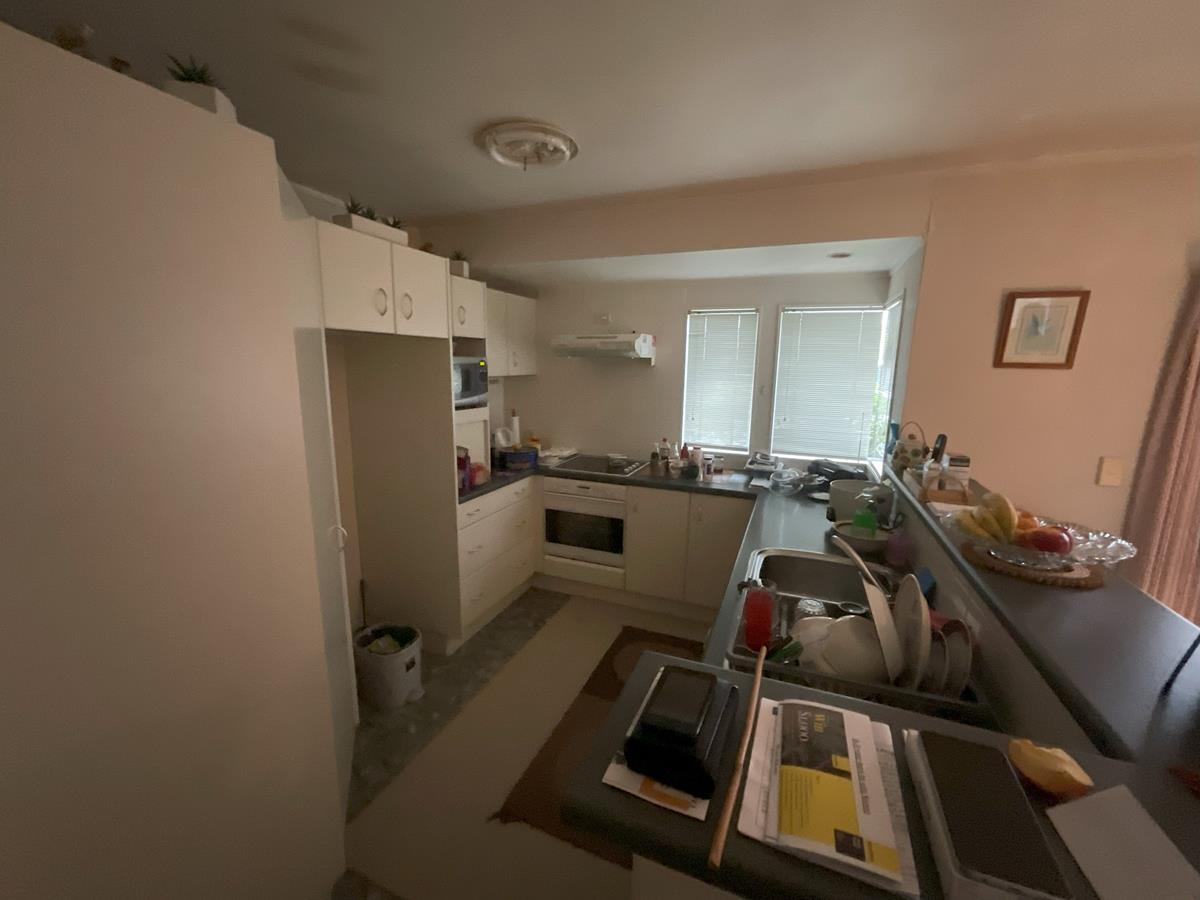
7Site preparation and demolition
The kitchen area is sealed off, floors in adjacent rooms protected, dust barriers installed. Demolition uncovers what was actually behind the walls — and in older Auckland homes that’s often old wiring, undersized waste pipes, or unexpected framing issues.
8Structural, plumbing & electrical rough-in
If walls are coming out, structural work happens first — including engineer-specified beams and posts. Then plumbers and electricians install new pipes and wiring in their final positions. Auckland Council inspections happen at this stage, before any wall linings go back on.
9Installation — cabinetry, benchtops, appliances
The order matters: flooring first (usually), then cabinetry, then benchtops are templated and installed, then splashback, then appliances. Each stage handed off cleanly to the next.
10Finishing touches and clean-up
Painting, electrical fit-off (light fixtures, switches, powerpoints), plumbing fit-off (taps, dishwasher connection), final cleaning. If consents were involved, the Code Compliance Certificate (CCC) inspection happens here.
Phase 4: Completion & Enjoyment
11Handover and walkthrough
A proper handover covers four things: a defects walkthrough (any minor touch-ups noted and scheduled), product warranties and manuals handed over, workmanship guarantee documentation provided, and a care-and-maintenance briefing for the surfaces and appliances. If the project is covered by the Master Builder Guarantee, the registered certificate is issued at this stage.
12Enjoy your new kitchen
Cook. Host. Live in it. The kitchen you’ve spent months planning becomes the room you spend more time in than any other.

Common Auckland kitchen renovation pitfalls
- Unrealistic budget or timeline. Research Auckland-specific costs before committing. Add 15% contingency.
- Scope creep mid-build. Every change after work starts costs more than the same change at design stage. Lock the brief.
- Choosing on price alone. The cheapest quote almost always becomes the most expensive job through variations.
- Skipping ventilation. Auckland humidity plus cooking equals mould in 18 months without proper extraction.
- Trend-chasing finishes. The look that’s hot in 2026 will be dated in 2030. Anchor in classics; play with accents.
- Living through a major reno. Plan the temporary kitchen and eat-out budget before you start. Don’t wing it.
Auckland-specific considerations
- Character home kitchens — villas and bungalows often have non-standard wall heights, original timber floors that need protecting, and existing plumbing in awkward positions. Specialist trades matter.
- Humidity and ventilation — rangehood sizing, extraction ducting to outside (not just into the ceiling cavity), and material selection all affected.
- Auckland Council process — consent timelines vary by area. Special Character overlay homes (Mt Eden, Ponsonby, Devonport, Remuera) require more careful exterior treatment.
- Supplier networks — established Auckland renovators have relationships with cabinetmakers, stonemasons, and appliance suppliers that reduce lead times by weeks.
Auckland kitchen renovation FAQs
Auckland kitchen renovations in 2026 typically run $30,000 – $200,000+ depending on scope. A like-for-like refresh starts around $30K–$50K. A mid-range renovation with new cabinetry, stone benchtops, quality appliances, and minor layout changes runs $50K–$90K. A high-end designer kitchen with custom cabinetry, scullery, and premium appliances runs $90K–$200K+. Structural changes (wall removal, extension) add $20K–$80K.
From kick-off to completion, plan on 8–16 weeks for a typical Auckland kitchen renovation. The breakdown: 2–4 weeks design and material selection, 3–6 weeks cabinetry fabrication, 2–4 weeks on-site installation, plus 1–2 weeks for benchtop templating and install. On-site disruption is usually 3–6 weeks. Custom or imported items can extend the timeline.
Like-for-like cabinetry and appliance replacement usually doesn’t need consent. You’ll need building consent if your renovation includes: moving plumbing waste or supply lines, structural work like wall removal, adding new electrical circuits, or installing a gas hob/oven where one didn’t exist before. See our Auckland Council consent guide.
A refresh keeps the existing layout, plumbing, and structural arrangement — replacing doors, benchtop, splashback, and appliances — typically $30K–$50K. A full renovation changes the layout, moves plumbing or electrical, often involves wall removal or a small extension, and replaces everything — typically $60K–$120K+. Refresh is faster (3–6 weeks) and less disruptive; renovation transforms the space but takes longer (10–16 weeks).
Yes, with planning. Most Auckland families set up a temporary kitchen in the laundry, garage, or spare room — microwave, hot plate, fridge, and kettle covers most needs for 4–6 weeks. Eat-out budget tends to creep up, so plan $500–$1,500 in additional food costs over the renovation period.
Modular (off-the-shelf) cabinetry costs roughly 30–50% less than custom but limits design flexibility — particularly around awkward corners and unique configurations. Custom cabinetry handles any shape and any finish but extends lead times to 4–8 weeks. For most Auckland kitchen renovations, a hybrid approach — modular base cabinets with custom panels — delivers the best balance of cost and aesthetics.
Auckland humidity favours moisture-resistant materials. Benchtops: engineered stone over natural marble. Cabinetry: melamine over MDF for most cabinets, with solid timber or veneer doors for character. Flooring: porcelain tile or engineered timber are far more forgiving than solid hardwood in a kitchen. Splashbacks: glass and ceramic tile are both durable; matte porcelain large-format is the current 2026 trend.
A well-executed kitchen renovation typically recovers 70–100% of its cost in property value uplift, making it one of the highest-ROI renovation categories. The best returns come from mid-range renovations ($50K–$90K) in homes worth $1M–$2M. Over-spec’ing a kitchen for the suburb (a $200K kitchen in a $1M home) delivers diminishing returns. School-zone suburbs see the best uplift.
Ready to plan your Auckland kitchen renovation?
Get a 2-minute estimate, a free 30-minute consultation, or the 7 Things ebook — whatever stage you’re at.
Get an instant estimate → Book a free consultation → Download the 7 Things ebook →